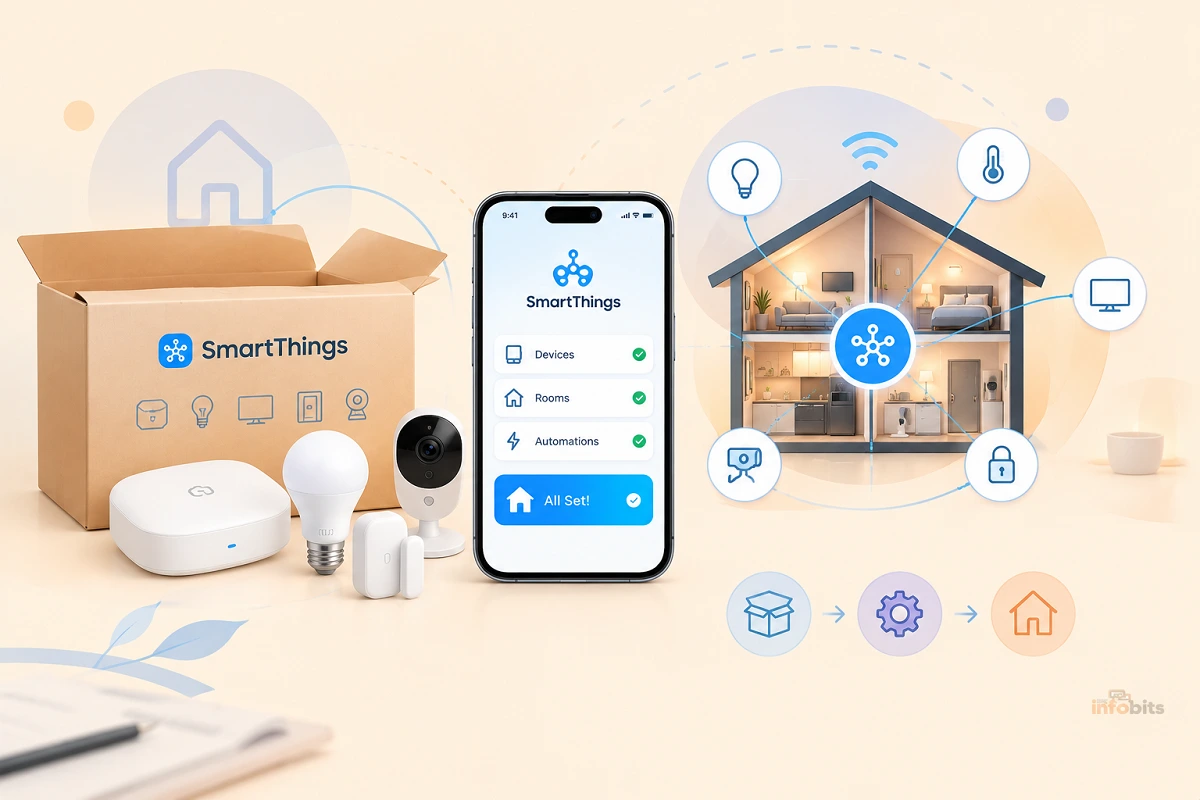
SmartThings Setup Guide: From Unboxing to Your First Automation
Samsung’s SmartThings has quietly become one of the most flexible smart home platforms available, largely because it plays nicely with almost everything: Zigbee, Z-Wave, Wi-Fi, and now Matter and Thread devices, all inside one app.
That flexibility is also exactly why setup trips people up. There are several different starting points depending on what hardware you have, and skipping the wrong step is the difference between a smooth 20-minute setup and an hour spent staring at a stuck progress bar.
This guide walks through the whole process: deciding whether you need a hub, setting up the app, adding your first devices, building your first automation, and fixing the handful of setup problems that come up most often.
Quick Answer:
- You don’t strictly need a hub anymore. SmartThings can control Wi-Fi and Matter devices directly through the app. You only need a physical hub for Zigbee or Z-Wave devices, or if you want a dedicated Thread border router.
- If you do want a hub, the SmartThings Station ($59.99) is the simplest, cheapest option and doubles as a wireless phone charger; the SmartThings Hub v3 offers more advanced Zigbee/Z-Wave support for larger device collections.
- Basic setup order: download the app → create a Samsung account → add your hub (if using one) → add devices → build automations (“Routines”).
- The single most common setup failure is the hub install stalling at 99% completion, which is almost always fixed by switching to a wired Ethernet connection instead of Wi-Fi during setup.
What Is SmartThings?
SmartThings is Samsung’s smart home platform, combining a mobile app, an optional physical hub, and support for a wide range of communication standards under one roof. Unlike some competing ecosystems that lean heavily toward one protocol, SmartThings was built to bridge several:
- Zigbee and Z-Wave: older, well-established low-power protocols, still used by a huge range of budget sensors, plugs, and switches
- Wi-Fi: for devices that connect directly to your home network
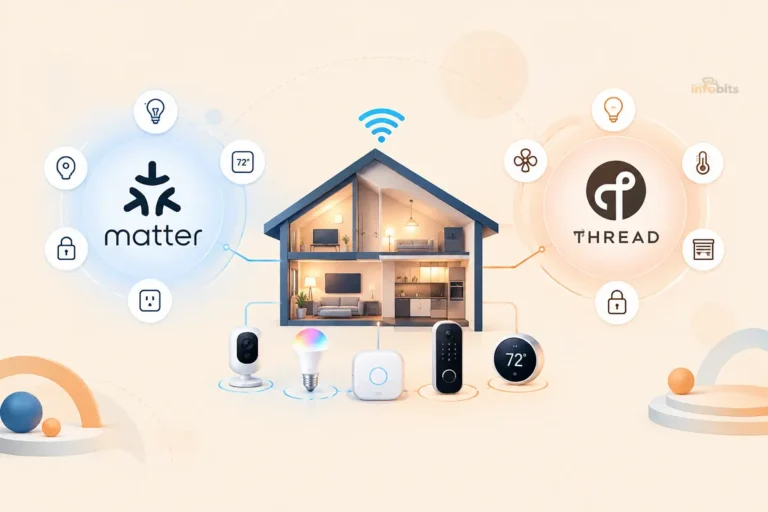
- Matter and Thread: the newer, cross-platform standards that let devices work across SmartThings, Google Home, Apple Home, and Amazon Alexa without separate setups
SmartThings was also among the first major platforms to support Matter’s “multi-admin” feature, meaning a device you set up in SmartThings can also be shared with Google Home or Apple Home without starting from scratch.
Do You Actually Need a SmartThings Hub?
This is the first real decision, and it depends entirely on what devices you’re planning to use.
You don’t need a hub if:
- You’re only using Wi-Fi devices (most smart plugs, some bulbs, many cameras)
- You’re only using Matter devices that connect over Wi-Fi, or that use a Thread border router you already own (an Apple TV 4K, HomePod mini, or newer Echo device, for example)
- You want a lightweight setup and are comfortable checking each device’s connection type before buying
You do need a hub if:
- You want to use Zigbee or Z-Wave devices, which require a hub to bridge them to your Wi-Fi network and the SmartThings app
- You want a dedicated Thread border router rather than relying on a smart speaker or streaming device for that job
- You’re planning a larger smart home and want more reliable local processing for automations
Your hub options:
| Hub | Price | Best for |
|---|---|---|
| SmartThings Station | $59.99 | Simplest option; doubles as a Qi wireless charger; supports Thread and Matter |
| SmartThings Hub v3 | ~$70–100 | Full Zigbee and Z-Wave support, Wi-Fi or Ethernet connection, best for larger mixed-protocol setups |
| Aeotec Smart Home Hub | Varies | Third-party SmartThings-certified hub with additional radio support, popular with power users |
If you’re not sure yet, the SmartThings Station is the safer starting point for most households. It’s inexpensive, doubles as a useful accessory even if you end up not using it heavily as a hub, and covers the Matter/Thread side of things immediately.
What You Need Before You Start
- The SmartThings app – free on the Google Play Store or Galaxy Store (iOS is also supported).
- A Samsung account – the same one used for a Galaxy phone works, or you can create one from scratch during setup.
- A 2.4GHz Wi-Fi network – most hubs and many devices pair over 2.4GHz specifically, even if your router also broadcasts 5GHz. If your router combines both bands under one network name, you may need to temporarily split them for setup.
- A hub, if you’re using one (see above), powered on and within about 10 feet of your router for initial setup.
- A Thread border router, if you’re adding Thread-based devices and don’t already have one; the SmartThings Station and SmartThings Hub v3 both work for this.
Step 1: Setting Up the SmartThings App
- Download SmartThings from the Google Play Store, Galaxy Store, or Apple App Store.
- Open the app and sign in with your Samsung account (or create one).
- Review the permissions the app requests (location, Bluetooth, and notifications are the main ones) and allow them. Several are required for device discovery to work properly.
- Create your first Location, setting your home address. This enables presence-based automations, like triggering a routine when your phone leaves or arrives home.
Step 2: Setting Up Your Hub (If You’re Using One)
- Plug in your hub’s power adapter and wait for the LED to start blinking (usually green), which takes about a minute.
- In the SmartThings app, tap the + icon and select Add Device.
- Scan the QR code on the back or bottom of the hub, or select “Add device by serial number” if scanning fails.
- Choose Wi-Fi or Ethernet as your connection method. Ethernet is significantly more reliable during setup and is worth using even temporarily if you plan to switch to Wi-Fi later.
- If connecting via Wi-Fi, your phone will briefly join a temporary network broadcast by the hub (often named something like “st-hubv3-XXX”) before handing off to your home Wi-Fi. This step is required, so don’t cancel it.
- Wait for firmware updates to complete, which can take 5–15 minutes on a new hub.
- Once setup finishes, you can move the hub to its permanent location.
If setup stalls at 99% completion ( a well-documented and common issue), see the troubleshooting section below before assuming something is broken.
Step 3: Adding Your First Devices
- From the main app screen, tap + and select Add Device.
- Choose the brand or device type, or use “Scan for nearby devices” if the specific brand isn’t listed.
- Follow the in-app pairing instructions. This typically involves putting the device into pairing mode (often a button press or held button) and waiting for the app to detect it.
- For Samsung-brand devices specifically (TVs, washers, dryers, refrigerators), the app can often auto-discover them on the same Wi-Fi network without manual pairing.
- For Matter devices, you’ll typically scan a QR code or enter a setup code printed on the device or its packaging.
Related: If you’re adding Matter or Thread devices specifically and want the full breakdown of how those standards work together, see our Matter vs Thread explainer.
Step 4: Creating Your First Automation (“Routine”)
SmartThings calls its automations Routines, and they’re where the platform actually starts to feel useful.
- From the app’s bottom menu, go to the Automations tab and select Routines.
- Tap + Add Routine.
- Choose a trigger. Common ones include a specific time, a device state change (like a door sensor opening), or your phone’s location (arriving or leaving home).
- Add one or more actions. For example, turning on lights, adjusting a thermostat, or locking a door.
- Name the routine and save it.
A simple starter routine many people set up first: lights turning on automatically at sunset, or all lights and plugs turning off when the last person’s phone leaves the house.
Common Setup Problems and Fixes
Hub setup stalls at 99% completion. This is one of the most frequently reported SmartThings issues. Force-close the app, power-cycle the hub (unplug for 30 seconds; don’t press the reset button), and retry the setup using a wired Ethernet connection instead of Wi-Fi if possible.
Hub shows a solid blue LED and won’t connect. Unplug the hub’s power for 30 seconds. While it’s restarting, check your router for IP address conflicts or DHCP issues. If the problem recurs, assigning the hub a static IP address in your router settings often resolves it.
Hub randomly goes offline. This has been linked in some cases to IPv6 compatibility issues on certain routers. Disabling IPv6 on your home network, or checking for router firmware updates, frequently fixes intermittent disconnections.
Devices pair but don’t respond to commands. Double-check that the device and hub are both on the correct band (2.4GHz for most pairing processes) and that the device has a strong enough signal. Zigbee and Z-Wave devices in particular can struggle with signal strength through multiple walls or floors.
Migrating to a new hub loses automations. Samsung’s official migration tool has a mixed reputation for reliability. Before migrating hubs, screenshot your existing Routines and device list so you can manually recreate anything that doesn’t transfer cleanly.
Related: For broader Wi-Fi connectivity troubleshooting that affects smart home setups generally, see Secure Your IoT Devices on Home Wi-Fi and Detect Unauthorized Devices on Your Wi-Fi Network.
Myth vs Fact
Myth: “You need a SmartThings hub to use any smart device with the app.” Fact: Wi-Fi and many Matter devices connect directly through the app without a physical hub. A hub is only required for Zigbee, Z-Wave, or dedicated Thread border router functionality.
Myth: “SmartThings only works with Samsung-brand devices.” Fact: SmartThings supports a huge range of third-party brands across Zigbee, Z-Wave, Wi-Fi, and Matter. Samsung devices simply get slightly smoother auto-discovery.
Myth: “If setup fails once, something is wrong with your hub.” Fact: The 99% stall and blue-LED issues are widely reported, well-documented setup hiccups, not signs of defective hardware in most cases.
Myth: “Matter has made SmartThings hubs obsolete.” Fact: Matter has reduced how often a hub is strictly necessary, but Zigbee and Z-Wave devices (still extremely common and often cheaper) still require one, and a dedicated hub generally offers more reliable local automation processing.
Expert Tips
- Use a wired Ethernet connection for your hub setup, even temporarily, since it resolves the vast majority of stalled or failed installations compared to Wi-Fi.
- If you’re starting from scratch and unsure how much you’ll expand your smart home, the SmartThings Station is the lower-risk starting point given its price and dual purpose as a charger.
- For larger homes running a mix of Zigbee, Z-Wave, and Thread devices, consider an Aeotec Smart Home Hub for additional radio support beyond what the standard SmartThings Hub v3 offers.
- Keep your router’s firmware updated and consider disabling IPv6 if you experience recurring, unexplained hub disconnections. This single setting resolves a surprising number of “randomly offline” reports.
Conclusion
SmartThings setup is straightforward once you know which path applies to you: hub-free for Wi-Fi and many Matter devices, or hub-based for Zigbee, Z-Wave, or dedicated Thread support.
Get the app installed, decide on your hub situation upfront, and use Ethernet during hub setup if you can; that one choice avoids the most common failure people run into.
From there, adding devices and building your first Routine is quick, and the platform’s flexibility across protocols is exactly what makes it worth the initial setup time.
Frequently Asked Questions
Do I need a hub to use SmartThings?
No, not always. Wi-Fi devices and many Matter devices connect directly through the app. A hub is required specifically for Zigbee, Z-Wave devices, or if you want a dedicated Thread border router.
What’s the difference between the SmartThings Station and the SmartThings Hub v3?
The Station is a simpler, cheaper option that also works as a wireless phone charger, supporting Matter and Thread. The Hub v3 offers fuller Zigbee and Z-Wave support, better suited to larger, mixed-protocol smart homes.
Why does my SmartThings hub setup stall at 99%?
This is a widely reported issue, most often resolved by force-closing the app, power-cycling the hub, and retrying setup with a wired Ethernet connection instead of Wi-Fi.
Can SmartThings control devices from other brands?
Yes. SmartThings supports a wide range of third-party Zigbee, Z-Wave, Wi-Fi, and Matter devices well beyond Samsung’s own product line.
What does a solid blue LED on my SmartThings hub mean?
It generally indicates a connectivity problem. Unplugging the hub’s power for 30 seconds and checking your router for IP conflicts typically resolves it.
Why does my SmartThings hub keep going offline randomly?
This has been linked to IPv6 compatibility issues on some routers. Disabling IPv6 or updating your router’s firmware often fixes intermittent disconnects.
Can I use SmartThings without a Samsung phone?
Yes. SmartThings works on both Android and iOS, and you don’t need a Samsung-brand phone to use the app.
What is a SmartThings Routine?
It’s SmartThings’ term for an automation: a trigger (like a time, device event, or location) paired with one or more actions (like turning on lights or locking a door).
Does SmartThings support Matter devices?
Yes. SmartThings was among the first major platforms to support Matter, including its multi-admin feature that lets a device be shared across multiple smart home apps.
Do I need a Thread border router for SmartThings?
Only if you’re using Thread-based devices. The SmartThings Station and Hub v3 can both serve as Thread border routers if you don’t already have one from another ecosystem.
Can I migrate my automations to a new SmartThings hub?
Samsung offers an official migration tool, but it doesn’t always transfer everything cleanly. Screenshotting your existing Routines and device list before migrating is a good safeguard.
Why won’t my device pair with SmartThings?
Common causes include being on the wrong Wi-Fi band (most devices pair on 2.4GHz), weak signal strength, or the device not being in its pairing mode correctly. Double-check the manufacturer’s specific pairing steps.
Is SmartThings free to use?
The SmartThings app and core platform are free. Hubs and compatible devices are purchased separately, and there’s no required subscription for standard use.
Can I control SmartThings devices when I’m away from home?
Yes, as long as your hub (if you’re using one) has an internet connection, you can control devices and check their status remotely through the app.
What Wi-Fi band should I use for SmartThings setup?
2.4GHz is required for most initial pairing processes, even if your router also broadcasts 5GHz. Some routers combine both bands under one network name, which can occasionally interfere with setup.
Can SmartThings and Google Home or Apple Home be used together?
Yes, thanks to Matter’s multi-admin feature. A Matter device set up in SmartThings can typically also be added to Google Home or Apple Home without starting the setup process over.
How many devices can a SmartThings hub support?
There’s no strict practical limit for most households, though very large device counts (100+) may benefit from a more robust hub like the Aeotec Smart Home Hub for reliable performance.
Does SmartThings work with Samsung appliances like washers and fridges?
Yes, and often with easier auto-discovery than third-party devices, since the app can detect compatible Samsung hardware on the same Wi-Fi network automatically.
What should I do if my SmartThings app keeps crashing?
Try force-closing and reopening the app, checking for app updates, and if the problem persists, restarting your phone. Persistent crashes are sometimes tied to an outdated app version or a temporary Samsung server issue.
Is Ethernet really necessary for hub setup, or is Wi-Fi fine?
Wi-Fi setup does work, but Ethernet is noticeably more reliable during the initial setup process specifically, since it avoids the temporary network hand-off that causes many of the most common stalls.
Found this guide useful? Share it with someone who is suffering from networking-related issues. Follow us on Facebook and Twitter for more tips, tricks, and guides.
We also ask that you bookmark this page for future reference, as we are constantly updating our articles with new information.
Sign up for our free newsletter as well to receive fresh information immediately in your inbox and keep technically up to date.
Disclosure: If you follow our links to a retailer’s website and make a purchase, we will get an affiliate commission on some, but not all, of the items or services we promote. This will cause no price change for you.