Installing Linux on Old PCs: Complete Step-by-Step Guide
Quick Answer: An old PC struggling under Windows 11, or one that can’t even run it, isn’t broken. It’s running an operating system built for hardware several generations newer than what it has. Installing a lightweight Linux distribution on that same machine can make it feel genuinely responsive again, for web browsing, writing, media playback, and everyday tasks.
For most people coming from Windows, Linux Mint Xfce or Lubuntu are the best starting points with familiar layouts, real software support, and modest hardware requirements. For genuinely low-spec machines (1–2GB RAM, older processors), MX Linux, antiX, or Puppy Linux push further into what old hardware can actually handle.
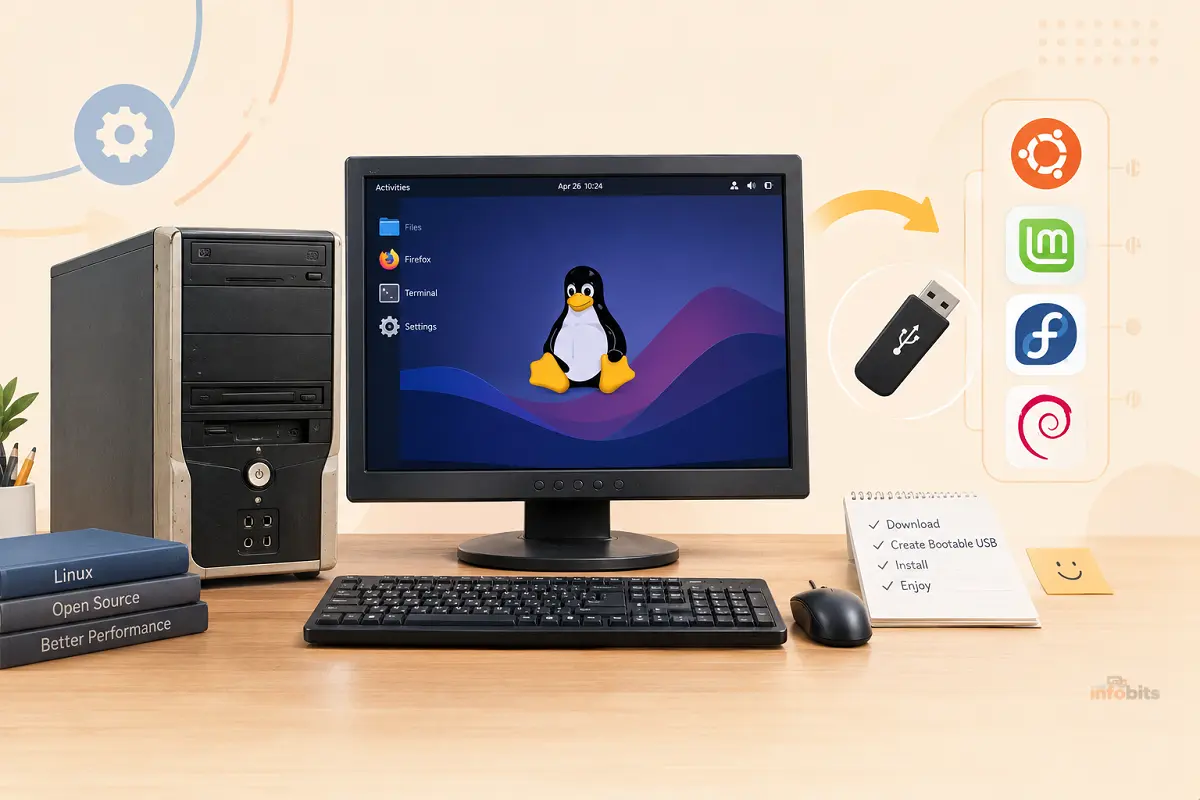
The installation process itself is the same regardless of which distro you pick. Create a bootable USB, boot from it, and follow a graphical installer that takes 15–30 minutes.
Why Install Linux on an Old PC?
Windows’ hardware demands have grown steadily with each release. Windows 11 requires a relatively recent CPU, TPM support, and at least 4GB of RAM to run acceptably, which leaves a lot of otherwise perfectly usable hardware behind.
Linux distributions, especially the lighter ones built specifically for this purpose, take a fundamentally different approach with minimal background services, lighter desktop environments, and no artificial hardware gatekeeping.
The same laptop that struggles to open a browser tab under a modern Windows install can feel fast and responsive again once you swap in an OS actually designed for its era of hardware.
This has become a particularly common project for machines that can’t upgrade to Windows 11 due to CPU or TPM requirements; rather than retiring the hardware, installing Linux extends its useful life for years, often for free.
Check Your Hardware First
Before picking a distro, get a realistic read on what you’re working with:
- RAM: This is the single biggest factor in which distro will actually feel good, not just technically boot. As a rough guide: 1GB or less needs an ultra-light option (Puppy, Tiny Core, antiX); 2–4GB comfortably handles Lubuntu, Xubuntu, or Linux Mint Xfce; 4GB+ opens up nearly any mainstream lightweight distro without compromise.
- Processor architecture: Confirm whether your machine is 32-bit or 64-bit. This matters more than people expect, since several popular distros (including current Lubuntu releases) have moved to 64-bit-only downloads and will no longer work on genuinely old 32-bit-only hardware.
- Storage: An SSD upgrade, even a small and inexpensive one, makes a bigger difference to how “old” a machine feels than almost any other single change. Linux benefits from this just as much as Windows does.
- UEFI vs. legacy BIOS: Check whether your machine boots via UEFI or older legacy BIOS. This affects how you’ll configure your installation USB later. If you’re not sure, check the system information while it’s still running its current OS, or look up your specific make and model.
Choosing the Right Distro for Your Hardware
Rather than chasing “the smallest download,” match the distro to what your specific machine can realistically handle day-to-day. A distro that boots quickly but can’t comfortably run a modern browser isn’t actually more usable in practice.
| Distro | Desktop Environment | Best For | Approx. RAM Needed |
|---|---|---|---|
| Linux Mint (Xfce edition) | Xfce | Windows switchers wanting a familiar, full-featured desktop | 2GB+ |
| Lubuntu | LXQt | Ubuntu software compatibility with a lighter desktop | 2GB+ (64-bit only) |
| Xubuntu | Xfce | A step up from Lubuntu in visual polish, still light | 2GB+ |
| MX Linux | Xfce / Fluxbox | Strong general daily-use option; very actively maintained | 1–2GB+ |
| antiX | IceWM / other lightweight WMs | Very low-spec machines (1GB RAM class); systemd-free | 512MB–1GB |
| Puppy Linux | JWM / other | Extremely old or limited hardware; can run entirely from RAM off a USB stick | 300–600MB |
| Q4OS | Trinity (TDE) | Speed and simplicity, with a layout that feels familiar to older Windows users | 1GB+ |
A practical tip: if you’re new to Linux and coming from Windows, start with Linux Mint Xfce or Lubuntu. Both are well documented, widely used (meaning more community help available when something goes wrong), and strike a good balance between being genuinely light and still feeling like a complete, modern desktop.
What to Expect Realistically on Very Low-Spec Hardware
Being honest about limits matters here. A lightweight distro can boot quickly and idle at a few hundred megabytes of RAM, but a modern web browser can easily consume more memory than the entire rest of the operating system combined.
On a 1–2GB RAM machine, the practical experience is closer to running one or two browser tabs at a time, plus lightweight office tools, local media playback, and basic file management, not recreating a full modern multi-tab, multi-app workstation.
Setting that expectation up front avoids the most common source of disappointment with this kind of project.
Step-by-Step: Creating a Bootable USB Installer
- Download the ISO file for your chosen distro from its official website. Always use the official source rather than a third-party mirror.
- Get a USB writing tool. Rufus (Windows-only) is the most widely used option; Etcher works cross-platform (Windows, macOS, Linux) if you’re creating the USB from a non-Windows machine.
- Insert a USB drive of at least 4–8GB (larger distros or those bundling more software may need more). Note that this process will completely erase the drive, so back up anything on it first. A reliable USB 3.0 flash drive like a SanDisk 32GB Ultra is available on Amazon and is very usable for this purpose for those who don’t already have a spare one lying around.
- In Rufus: select your USB device, click Select and choose the downloaded ISO, then configure the partition scheme and target system to match your PC’s firmware:
- Modern PCs (UEFI): GPT partition scheme, UEFI (non-CSM) target system.
- Older PCs (legacy BIOS): MBR partition scheme, BIOS (or UEFI-CSM) target system.
- If you’re unsure which your machine uses, GPT/UEFI is the safer default for anything from roughly the last decade; genuinely old machines are more likely to need the MBR/BIOS option.
- Click Start and confirm when prompted. Rufus will write the ISO to the drive, which typically takes a few minutes depending on USB speed and ISO size.
Step-by-Step: Installing Linux on the Target PC
- Insert the USB drive into the old PC and restart it.
- Enter the boot menu or BIOS/UEFI settings during startup. Commonly triggered by pressing F2, F12, Delete, or Esc repeatedly right after powering on (the exact key varies by manufacturer; it’s usually shown briefly on screen at boot).
- Select the USB drive as the boot device, either from a one-time boot menu or by adjusting the boot order in BIOS settings to prioritize USB.
- If the USB doesn’t appear as an option, double-check that Secure Boot compatibility matches your distro (most major distros support UEFI Secure Boot without needing to disable it, but some smaller or older distros may require temporarily turning it off in BIOS settings) and that USB boot itself is enabled.
- The distro will boot into a live environment. Most modern installers let you try the OS running entirely from the USB before committing to anything, which is a genuinely useful way to confirm your Wi-Fi, graphics, and other hardware work correctly before installing.
- Launch the installer (usually an icon on the live desktop, such as “Install [Distro Name]”).
- Follow the graphical installer, which typically asks for: language and keyboard layout, Wi-Fi connection (if applicable), disk partitioning (choose “erase disk and install” for a straightforward single-OS setup, or manual partitioning if you want to dual-boot alongside an existing OS), and your username/password.
- Wait for installation to complete. Typically 15–30 minutes depending on hardware speed. Then restart when prompted and remove the USB drive.
If you’re planning to keep an existing Windows installation alongside Linux rather than replacing it entirely, our guide on dual-boot vs. virtual machine walks through which approach makes more sense for your situation before you commit to a partitioning scheme.
After Installation: Getting the Most Out of Old Hardware
- Update the system immediately after first boot. Most distros prompt for this, and it ensures you have the latest security patches and driver support.
- Disable unnecessary startup animations and visual effects if the desktop environment offers them. Even lightweight desktop environments sometimes ship with animations enabled by default that add a small but noticeable drag on genuinely old hardware.
- Install a lightweight browser if the default feels heavy. Browser choice affects day-to-day responsiveness on low-RAM machines more than almost any other software decision you’ll make.
- Consider swapping desktop environments if your distro supports it. For example, our comparison of LXQt vs. Xfce can help you decide whether switching to a lighter environment makes sense if you’re still finding things sluggish.
- An SSD upgrade remains the single best hardware investment for an old machine running Linux, if your budget allows for it. Even a small, inexpensive drive noticeably improves boot times and everyday responsiveness. A budget-friendly 2.5-inch SATA SSD like Crucial BX500 available on Amazon is an accessible upgrade path for genuinely old hardware that likely doesn’t support NVMe. If you’re checking on the health of an existing drive before deciding whether it’s worth reusing, see our guide on checking whether your SSD is failing.
Common Mistakes to Avoid
- Choosing a distro based on RAM specs alone, without checking desktop environment weight. Two distros with similar minimum RAM requirements can feel very different day-to-day depending on their default desktop environment and bundled software.
- Skipping the “try before installing” live session. It costs nothing and immediately surfaces hardware compatibility issues (Wi-Fi, graphics) before you commit to a full install.
- Downloading ISOs from unofficial mirrors rather than a distro’s official site. Always verify you’re getting a legitimate, unmodified download.
- Forgetting to check 32-bit vs. 64-bit compatibility for genuinely old hardware. Several popular distros have moved to 64-bit-only downloads in recent releases.
- Not backing up anything important on the target PC before installing. A full installation typically erases the existing drive contents unless you specifically choose a dual-boot or manual partitioning option.
Final Thoughts
An old PC does not always need to end up in a closet or recycling bin. With the right Linux distribution, it can still be useful for years. The key is choosing software that matches the hardware.
Start by checking the basics. Look at the RAM, processor architecture, storage, and firmware type. Then choose a distro that your PC can handle comfortably. Linux Mint Xfce and Lubuntu are good starting points for many users. If the hardware is extremely limited, options such as antiX or Puppy Linux can go further.
Take your time with the installation. Back up important files first. Create the bootable USB carefully. Most importantly, use the live session before installing Linux. It gives you a chance to test Wi-Fi, graphics, and other hardware without changing the PC.
You can also make a noticeable difference with a few simple upgrades. An SSD can greatly improve everyday responsiveness. A lighter desktop environment and browser can help older hardware feel faster too.
The goal is not to turn a 15-year-old computer into a modern workstation. Instead, Linux can make it useful again for browsing, writing, media playback, and other everyday tasks.
So, before you replace that old PC, give Linux a try. With the right distro and realistic expectations, that aging computer may still have plenty of life left in it.
Frequently Asked Questions
What’s the best Linux distro for an old laptop?
For most people switching from Windows, Linux Mint Xfce or Lubuntu offer the best balance of light resource use, software compatibility, and community support. For extremely low-spec hardware (1GB RAM or less), antiX or Puppy Linux push the limits of what limited hardware can handle.
How much RAM do I need to run Linux on an old PC?
It depends on the distro and desktop environment, but as a general guide: 512MB–1GB needs an ultra-light distro like Puppy or Tiny Core; 2–4GB comfortably runs Lubuntu, Xubuntu, or Linux Mint Xfce; 4GB or more opens up nearly any mainstream lightweight option without real compromise.
Can I install Linux on a PC that can’t run Windows 11?
Yes. This is one of the most common reasons people install Linux on older hardware. Linux distributions don’t impose the same CPU generation, TPM, or Secure Boot requirements as Windows 11.
Do I need to completely erase Windows to install Linux?
No. Most installers offer a dual-boot option that installs Linux alongside an existing Windows installation, letting you choose which to boot into at startup. You can also run Linux in a virtual machine without touching your existing installation at all.
Will all my hardware (Wi-Fi, graphics, etc.) work automatically on Linux?
Most modern hardware works out of the box on major distros, but it’s not guaranteed, especially for older or less common Wi-Fi chipsets. This is exactly why testing the live USB session before committing to a full install is worth doing. It surfaces any compatibility issues immediately.
Is it safe to use Rufus to create a Linux installation USB?
Yes, Rufus is a well-established, open-source tool widely used for creating both Windows and Linux installation media. Always download it from its official source.
What’s the difference between UEFI and legacy BIOS, and does it matter for installation?
UEFI is the modern firmware standard used by most PCs from roughly the last decade; legacy BIOS is the older standard still found on genuinely old hardware. It matters because your bootable USB needs to be configured to match (GPT partition scheme for UEFI, MBR for legacy BIOS), or the installer may not boot correctly.
Can I try Linux without installing it first?
Yes. Nearly all major distros let you boot into a full “live” desktop session directly from the USB drive without installing anything, so you can test hardware compatibility and get a feel for the OS before committing.
How long does installing Linux actually take?
Typically 15–30 minutes for the installation itself once you’ve booted from the USB, though total project time (downloading the ISO, creating the USB, backing up data) is usually closer to an hour for a first attempt.
Is Linux actually faster than Windows on the same old hardware?
In most cases, yes, particularly on lower-spec machines. Lighter Linux distributions use fewer background services and system resources by default. Our deeper breakdown of why Linux is faster than Windows covers the technical reasons behind that difference.
Found this guide useful? Share it with someone who is suffering from networking-related issues. Follow us on Facebook and Twitter for more tips, tricks, and guides.
We also ask that you bookmark this page for future reference, as we are constantly updating our articles with new information.
Sign up for our free newsletter as well to receive fresh information immediately in your inbox and keep technically up to date.
Disclosure: If you follow our links to a retailer’s website and make a purchase, we will get an affiliate commission on some, but not all, of the items or services we promote. This will cause no price change for you.
You May Be Interested in Reading:
- UEFI and Secure Boot Explained: What They Do and Why They Matter
- Windows 11 KB5094126 Boot Failure & BitLocker Recovery: How to Fix It
- How to Detect Unauthorized Devices on Your WiFi Network
- How to Run Windows Programs on a Mac: Every Method Explained
- WebOS vs Google TV: Which Platform Future-Proofs Your TV?